Alexa-enabled gadgets from Amazon have transformed how we connect with our smart homes, friends, family, and even ourselves. One of Alexa’s most outstanding abilities is acquiring knowledge about her users and recalling their preferences based on the voice commands provided by Alexa household members.
Amazon automatically captures and stores your conversations with Alexa in the Amazon cloud. Amazon uses these voice recordings to enhance your user experience, but the fact that Amazon has access to hundreds, if not thousands, of voice recordings made in the confidentiality of your own smart home is unsettling.
You may remove your saved talks from Alexa’s history and regain your tranquility of mind and privacy. Here, we will walk you through the entire procedure.
Sort your Alexa History
The Alexa Privacy section provides numerous alternatives for examining the sensitive information Alexa has gathered. You could spend a bit of time there.
Begin by selecting Review Voice History, which will bring up a new screen with all your taped Alexa talks. Then, near the top of your screen, search for an option to adjust the date range or filter by the device. You can view today’s commands, yesterday’s commands, and so on. You have access to your whole history. Finally, if you want to sift through all of your recordings, select All History; this will reveal all your talks with Alexa, when they occurred and on what device.
Automatically Delete Old Recordings
Alexa will save your voice recordings permanently by default, but you may instruct Alexa to erase them after three or 18 months.
By activating auto-delete, you can be assured that your voice recordings will be removed without your intervention.
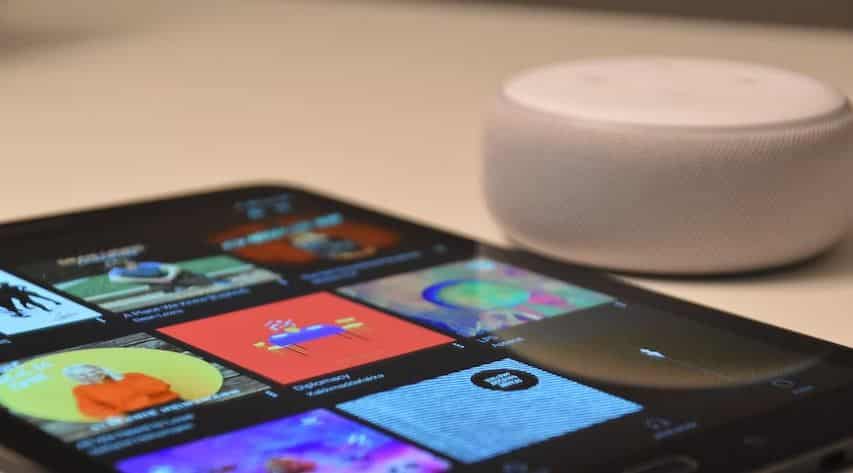
First, launch the Amazon Alexa app on your Android or iOS smartphone to enable voice recording auto-delete. Click the “Menu” button, then go to “Settings -> Alexa Privacy -> Manage Your Alexa Data,” and then select “Automatically delete recordings” – specify whether you want your recordings to be erased after three months or 18 months, and then tap “Confirm.”
Delete Specific Parts in Alexa History
As you listen to your recordings, you’ll notice that some contain the text of your chats, such as “Alexa, is it going to snow today?” but other recordings state, “Text not available — the audio was not intended for Alexa.” These recordings occur when Alexa is still paying attention for a second after responding to your question or if nearby discussions sound like someone said “Alexa,” but the voice assistant defines no one was talking to it.
Other false awakenings occur when Alexa hears something that sounds like her wake phrase on TV or the radio. You may listen to these recordings by clicking on them if you’re intrigued.
To do so, choose the checkbox to the left of each recording you want to erase. Then, select Delete Selected Recordings at the top to delete them altogether. It’s also an excellent idea to manually enable Enable Deletion by Voice, so you don’t have to return to this box.

Delete All Alexa Recordings
If you want to avoid going through all of your recordings or having no interest in what they say, you can erase them without seeing them. Select Delete All Recordings for All History at the top of the Review Voice History menu.
Without using the Alexa app, you may also wipe your full history from your PC. Select an Alexa device, then check the device’s name below for a Delete Voice Recordings choice.
To erase them, go to Amazon’s Manage Your Content and Devices page, sign in to Alexa Privacy Settings, and ensure you’re on the Devices tab. All of the gadgets associated with this Amazon account are listed here. When you select it, Amazon will display a brief warning screen. When you click Delete, you should get a popup stating, “Your Deletion Request Has Been Received.”
Enable Deletion by Voice Command
A voice command can also be used to remove voice recordings. For instance, if you say to Alexa, “Alexa, delete everything I said today,” she will remove all clips recorded from midnight and when you delivered the command.
By default, voice deletion is turned off, but you can enable it using the Amazon Alexa app. To enable it, run the app on your smartphone or tablet, then open the menu and pick “Settings.” After that, select “Alexa Privacy” and press “Review Voice History.” Locate the “Enable deletion by voice” slider and slide it to the “On” position. You can now remove your voice history using speaking commands after reading the disclaimer and tapping “Enable.”
Eliminate Unwanted Alexa Recordings
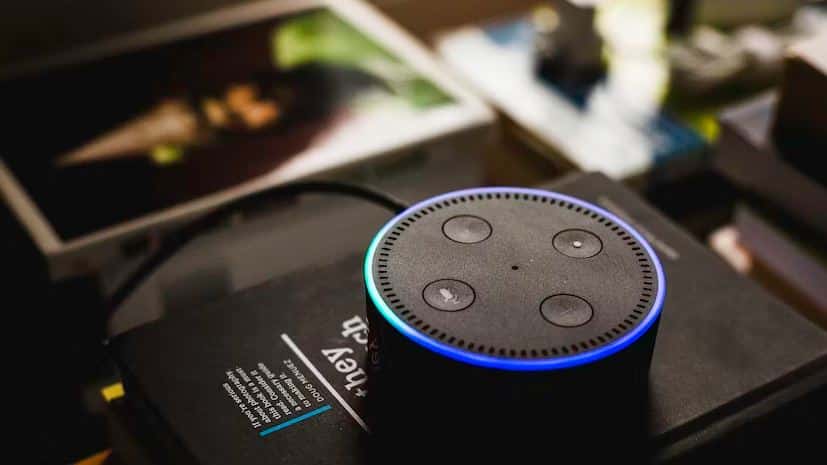
Turning off Alexa will ensure that it does not record your voice when you do not want it to. The top of Echo devices has a mute button that allows you to turn off the microphone, rendering Alexa’s ring indicator red until you unmute it again. You can remove the Alexa device completely to prevent it from listening.
These solutions are frequently utilized by individuals who work from home and have an Alexa device on their work surface or near their computer, yet require privacy during web conferences, team discussions, and other interactions containing sensitive professional information.
Conclusion
Deleting Alexa recordings is a vital aspect of protecting your privacy, and Alexa recordings have been used in prosecution cases before, though there is little precedent for this type of thing so far. It’s acceptable if you don’t want your recordings to be accessible on the internet.
Yet there is one significant caveat to removing your messages: Alexa uses your recordings to enhance the precision of its listening functions. In simple terms, the more you converse with Alexa, the better it will improve at identifying your voice and comprehending your words.
By deleting all voice recordings, you’ll have to restart Alexa from scratch because your voice will cease to be identifiable, so expect the same types of problems and misunderstandings you experienced when you first started using it.
Finally, it’s worth the effort to defend your privacy and protect your smart home. You may always rebuild the recognition with new commands spoken.